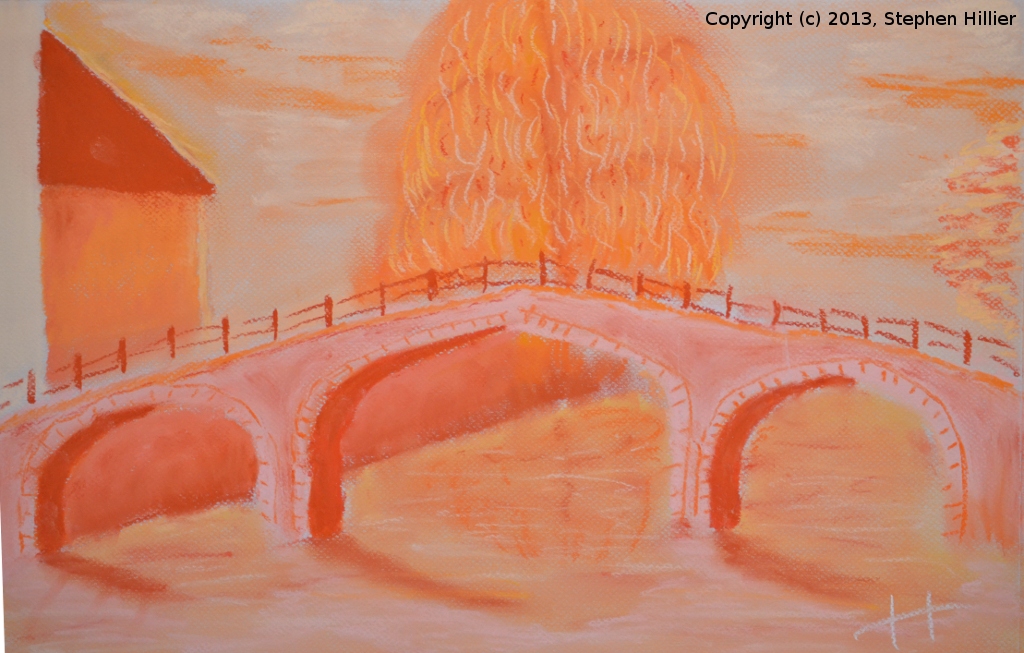
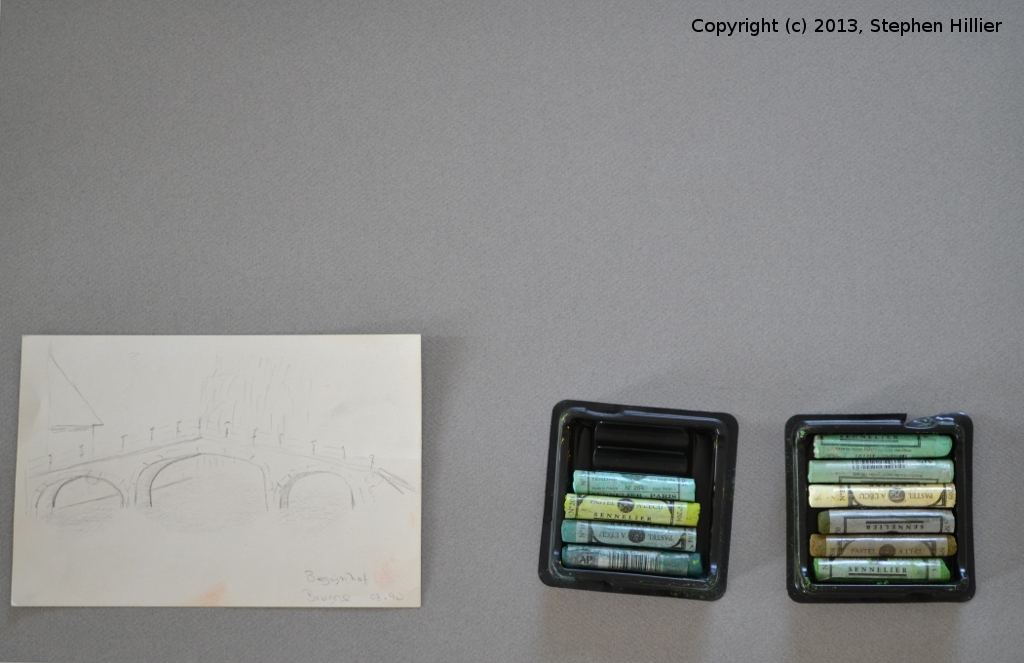
Begijnhof in Bruges. Search on Google for details and Wikipedia entries. The buildings can be accessed from the canal system in Bruges. The bridge over the canal was the scene of a sketch I did in August 1990. The sketch has sat here ever since and the other day when I was looking for something to do with a set of Unison Orange pastels I gave it a go. In about 90 minutes I had a semi respectable painting.
Someone made a suggestion that inspired me. That was to do a piece of work but take photos of it at various stages during the development. Thus building on the idea I have at the moment of using a limited palette I produced the drawing in green and photographed it at 8 stages during production.
 The starting point. I took a half imperial piece of Mi Teintes China Grey pastel paper. I also got hold of a set of 10 Sennelier soft pastels. The colours I used were Nos: 914, 508, 750, 209, 186, 148, 181, 184, 204, 254. Note these pastels are VERY soft. I did make one mistake before starting this. I forgot to bring by paper stumps and smudging tools, I did not have a putty rubber. In short I had no other tools to work with except the pastels themselves and the stumps nature gave me at the end of my hands.
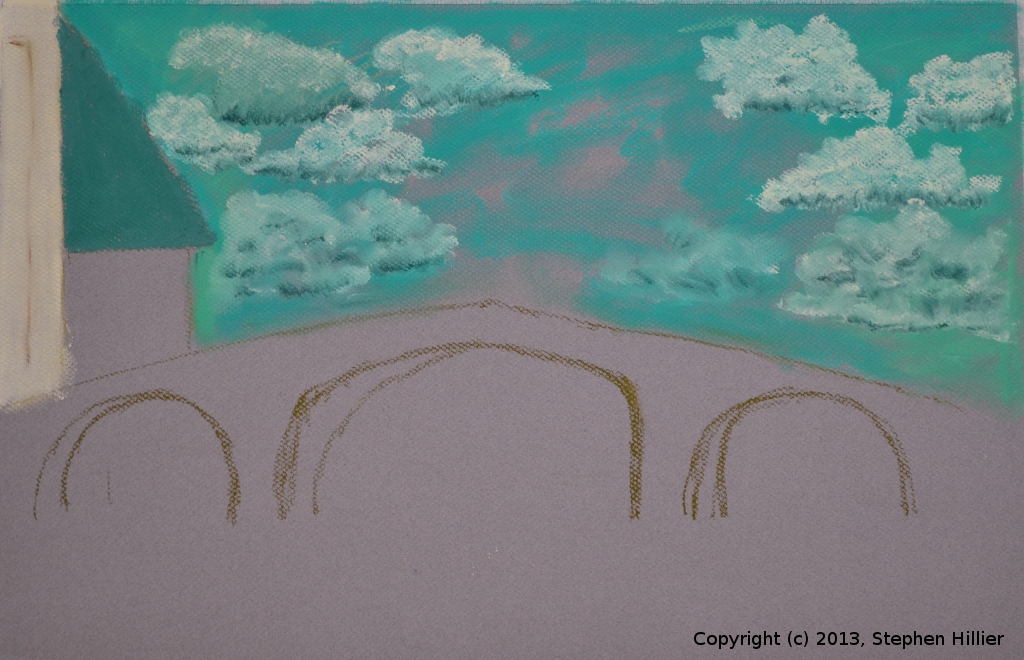
 To get started I sketched out the basic layout on the paper. The choice of colour for this was immaterial as eventually it would be over painted. This allowed me to to place the bridge where I wanted it and to set out where the buildings in the left of the Painting will appear. No detail added at this stage.
 As I was working with very soft pastel I had in my mind the issues of smudging by accident so I made a start at the top of the page. The green I chose for the sky was a little startling and a lot darker than the outside of the Pastel indicated. I applied a light green to produce the clouds and pushed the medium around with my fingers. Pushing upwards to give nice fluffy topped clouds. For the base of the clouds I put a line of a dark green at the base of the cloud and smudged it upwards into the lighter area. I left the middle of the sky as this is where the tree is going.
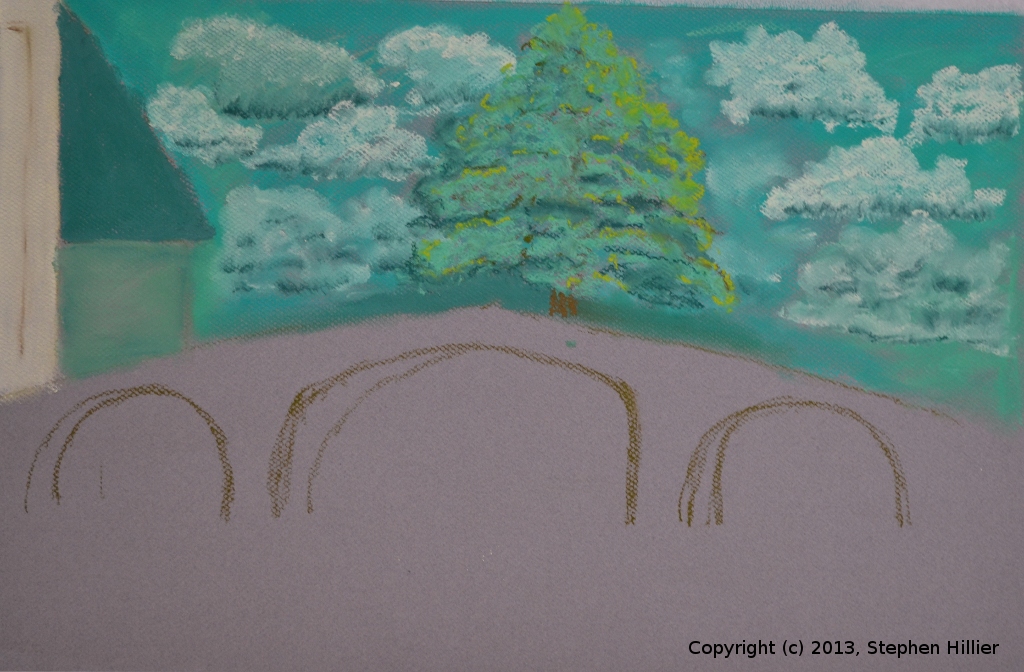
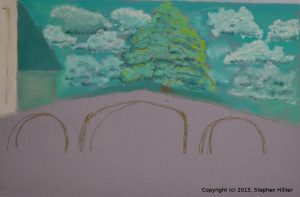 At this stage I added the tree and I filled in the wall of the building under the roof. Look carefully at this area as in the final picture I come back to this part of the wall and add some shading under the eves of this building. Now the area above the bridge structure is complete.
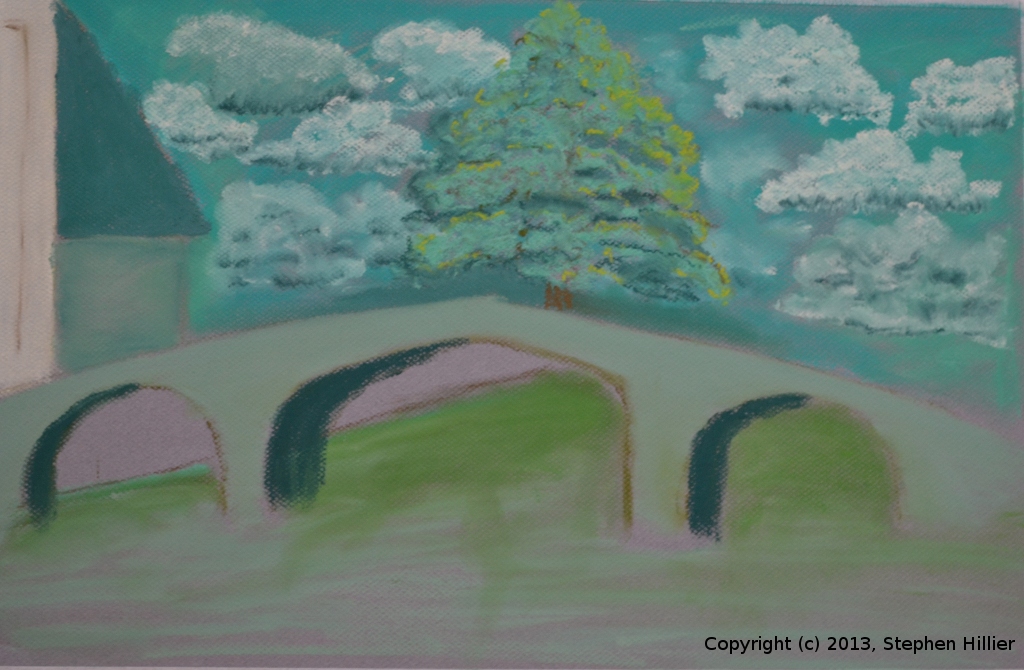
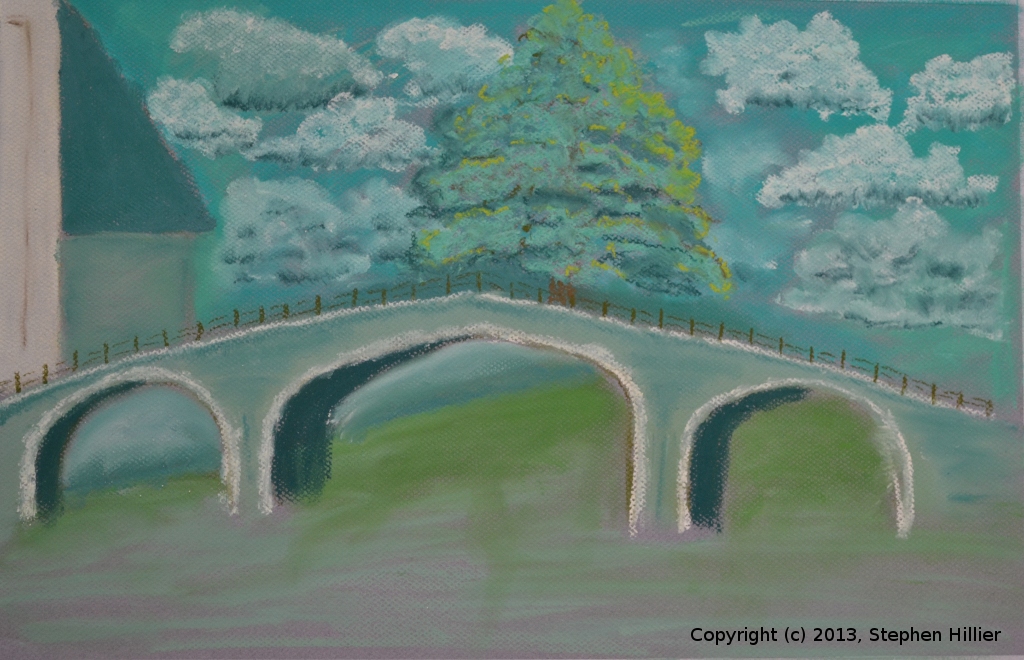
 Now comes the point where the bridge has to take shape. I fill in the structure including the shading of the arches. Across the canal and visible under the bridge is the canal wall. This reaches upwards and any vegetation on top of the wall is not visible, however I put in the water line to define the water. If you note carefully the waterline under the central span of the bridge is really too high here but it was not until later that I noticed this and corrected it. The bridge at this point is about complete except for some detailing.
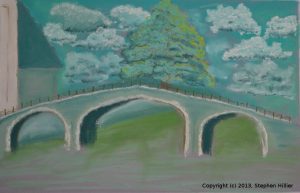 I now add the bridge detailing. I put in the parapet and the arches. I put in some shading on the walls of the bridge but these do get firmed up later. This is the only part of the painting when I used something other than my fingers to smudge the work. I needed to get some file detail into the bridge arch and I used a piece of kitchen towel, screwed it into a point at one corner and used the point to lightly brush out some of the lighter pastel and smooth this out. I also at this stage added the railings on the top of the bridge. Note for these each post and each rail is individually drawn and if it didn’t quite touch so be it.
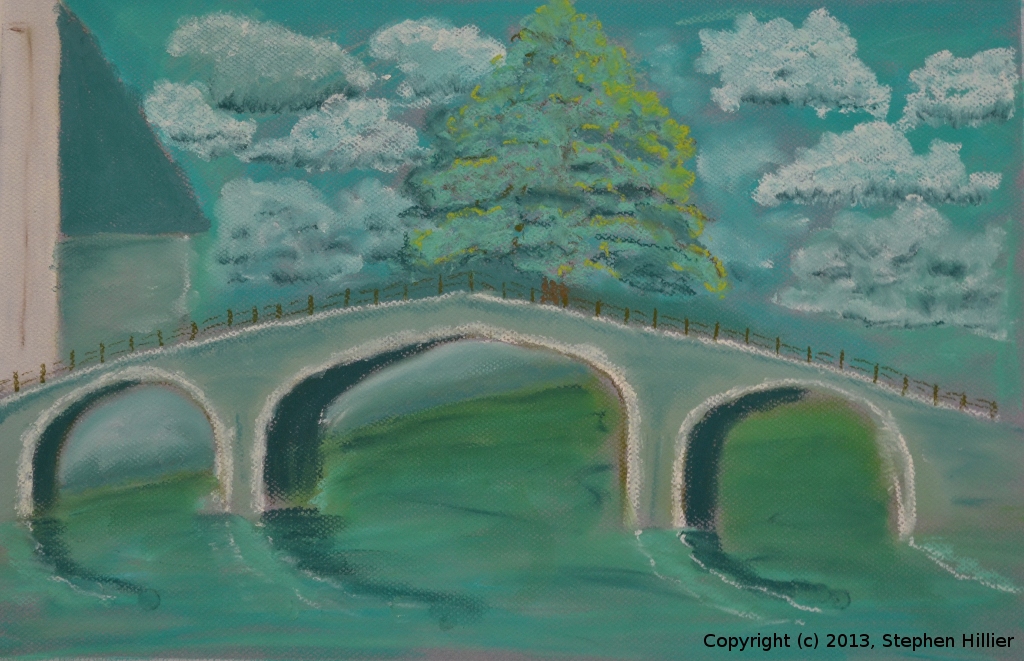
 Now we have an almost finished item. I added the water and the reflections of the bridge in the water. In adding the reflections I tried not only to reflect the dark underside of the arches but also the reflection and the walls and detailing of the bridge. I added the shading to the building on the left. I also dropped the waterline under the middle span to make this more realistic. The picture was subjected to a peer review at this stage. The tree was the most contentious issue. The left of the tree was not very indistinguishable from the clouds. I noticed that the waterline needed enhancing. Some people did not like the tree in the middle of the picture. The rule of thirds, like all rules, is made for breaking!
 To counter the issue with the tree I added a further small tree to the left in the bright colour. There are still some issues here which I may address – or may not, depends how I feel. I enhanced the waterline by simply adding a line of dark pastel at the water edge and then smudging it upwards into the wall. In total this was about 2 hours work.
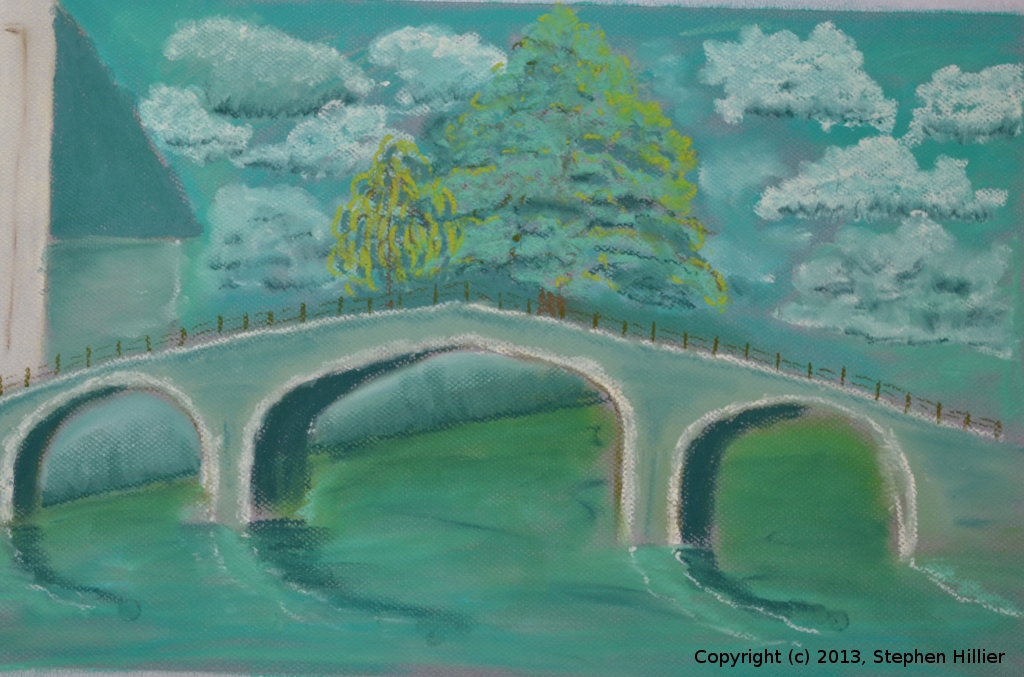
There is a colour difference in the last image. Nothing magic here. It was photographed under different lighting conditions.-
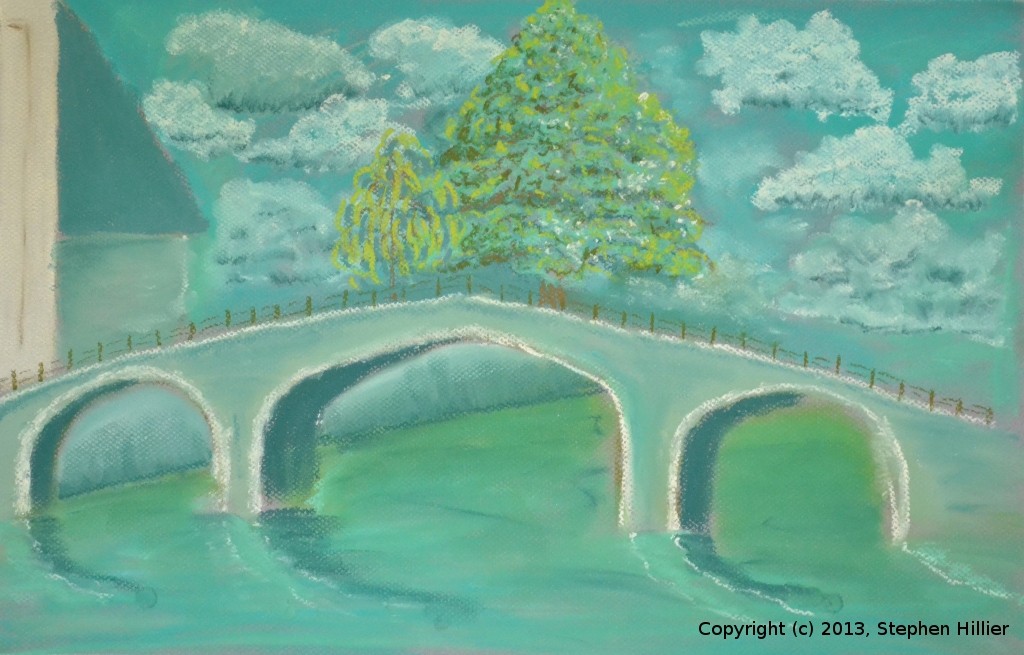
 Still not happy with the tree I made some changes, adding some dark areas to the left and adding more light touches to the middle and right. I also just reconfigured the central arch to even up the geometry. That’s it, fix and store.

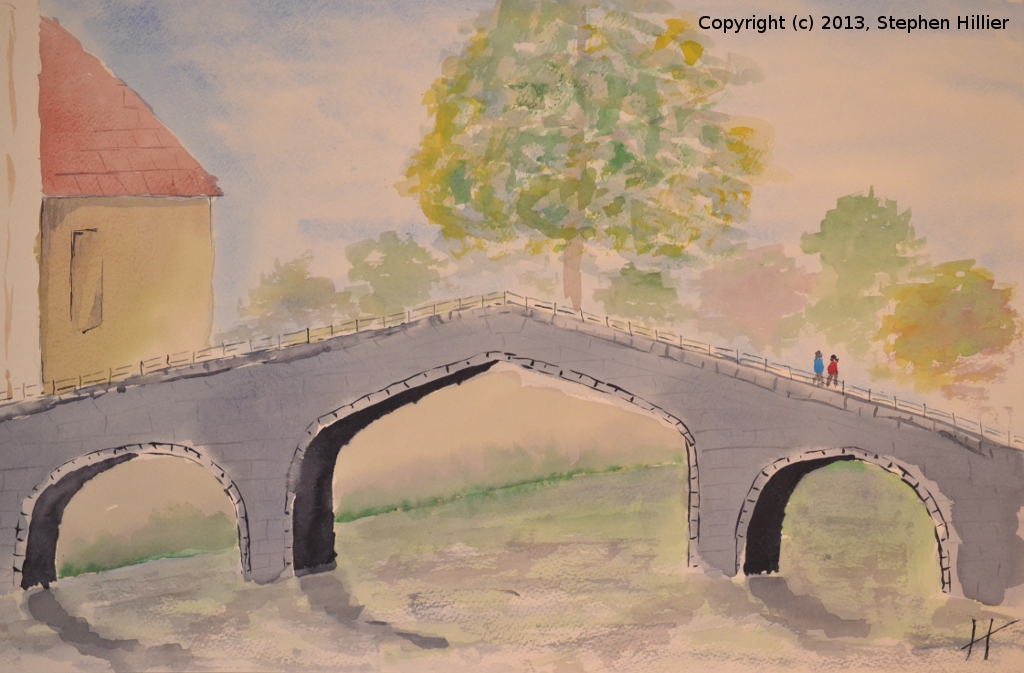
In August, having some friends round for afternoon tea! I took out the paints and using some Oatmeal 300gsm Bockingford I had to hand I did this painting in watercolour. I had a small palette of some 8 colours but I cannot tell you what they were.