I have been intrigued with lino printing for a number of years and every attepmt I have made has resulted in frustration, appalling results and on one occasion I gave away all my equipment with a view of never doing any more of it. Later on I found amongst my father’s effects his set of lino printing tools and some examples of his work, so I thought maybe I should have another go. One further poor attempt resulted in a one year hiatus until I thought why not get some tuition.
A namesake by the name of Amanda Hillier I met at her Studio in Jackson’s Field in Shropshire and I bought a copy of her print of Ironbridge. Why not get some help from the expert so I enrolled on a one day course at the Severn Gorge Countryside Trust in Coalbrookdale. The first eight images are the result of that day’s work.

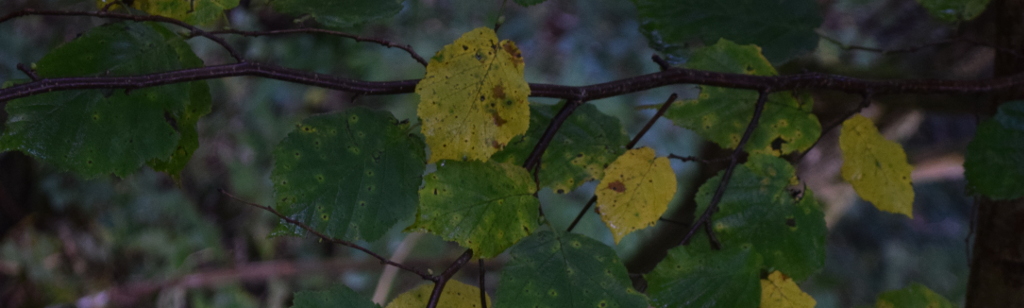
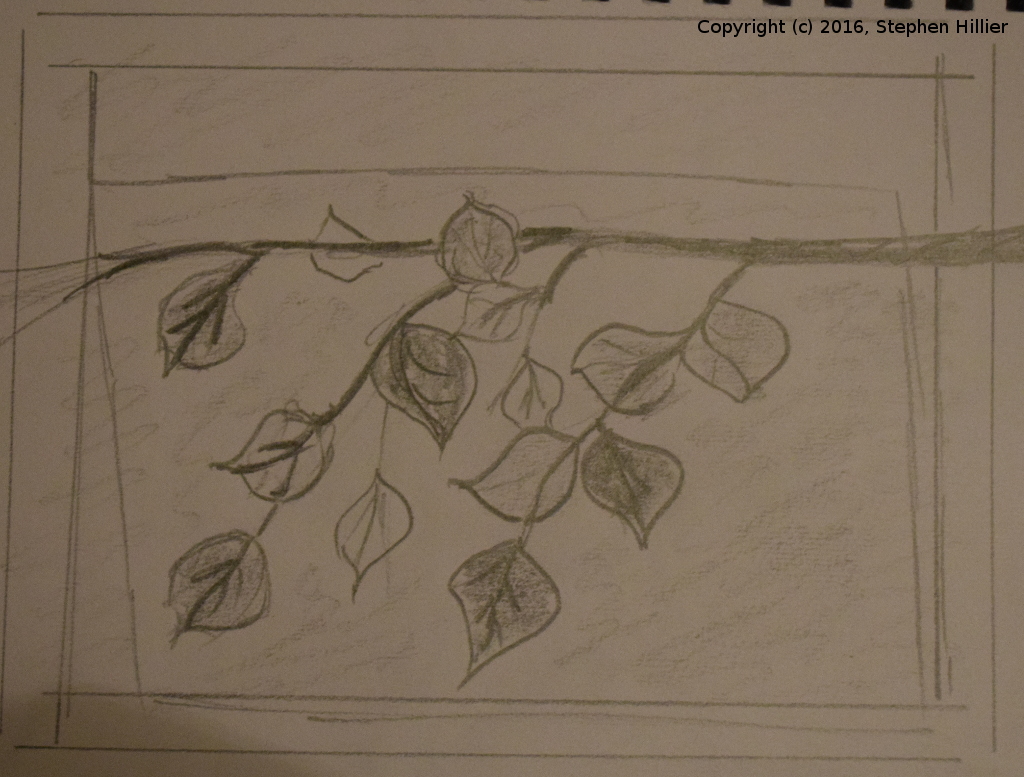
 On the left the subject I chose. It was the first of 22 photos I took with the Digital and I decided just to do the horizontal branch and a few leaves. On the right a positive image the I drew with a 6B pencil from the photo. This image was then cut into the lino to produce the first cut image. Never being one to take the easy route I decided I would try to do the printing using CMYK colours and these were the inks I supplied myself.
Printing with CMYK requires taking a mask of each of the four colours and then overprinting each in tern, first using the yellow followed in tern with the cyan, magenta and black. This process does not really suit the reduction lino cutting process as the results below will show.
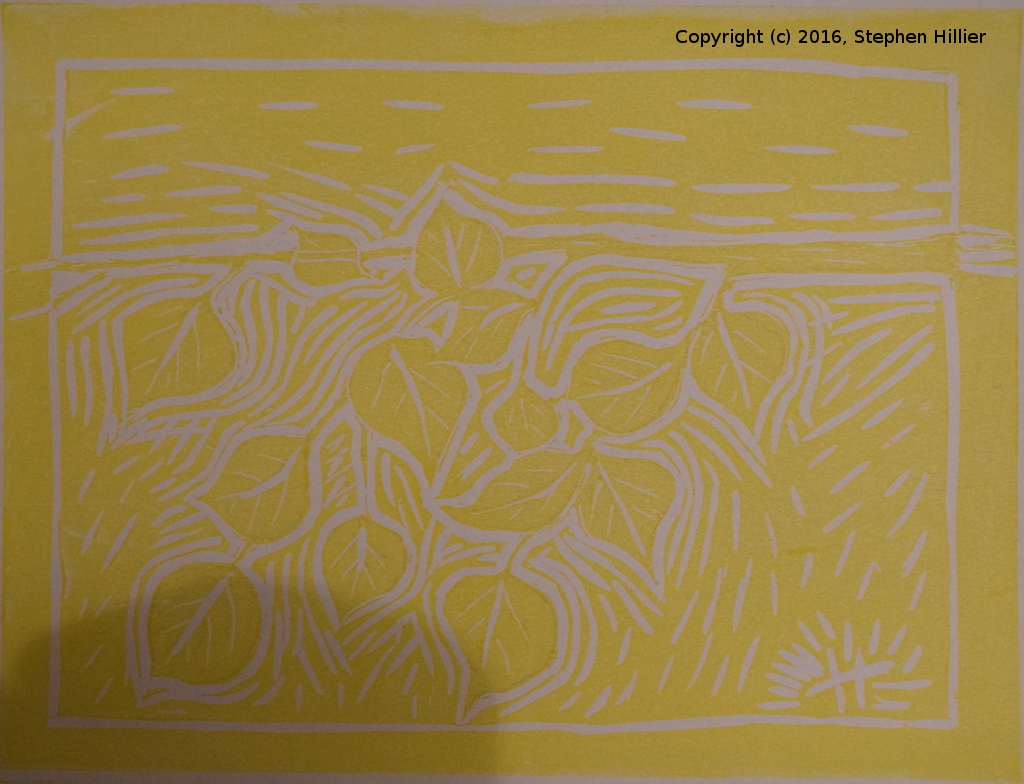
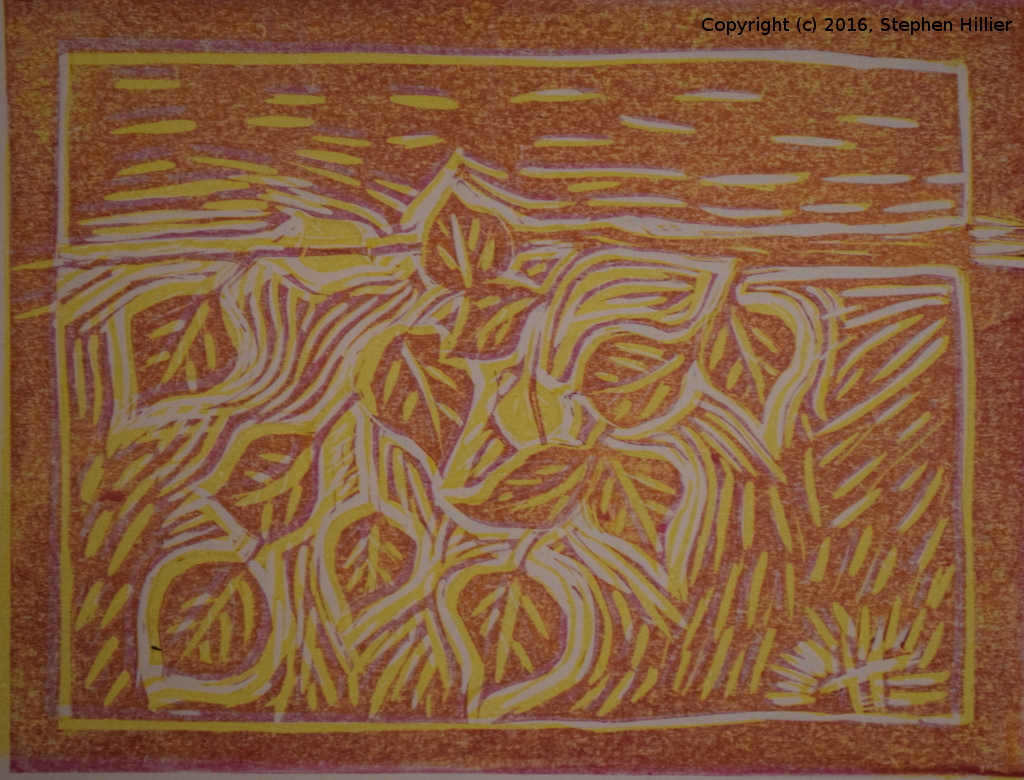
 On the left the yellow print. Please ignore the shadow at the bottom left of the image. That is the result of bad photography rather than poor printing. In retrospect I think I should have taken out more lino at the fringes of the branch which would have given more clarity in the final print.
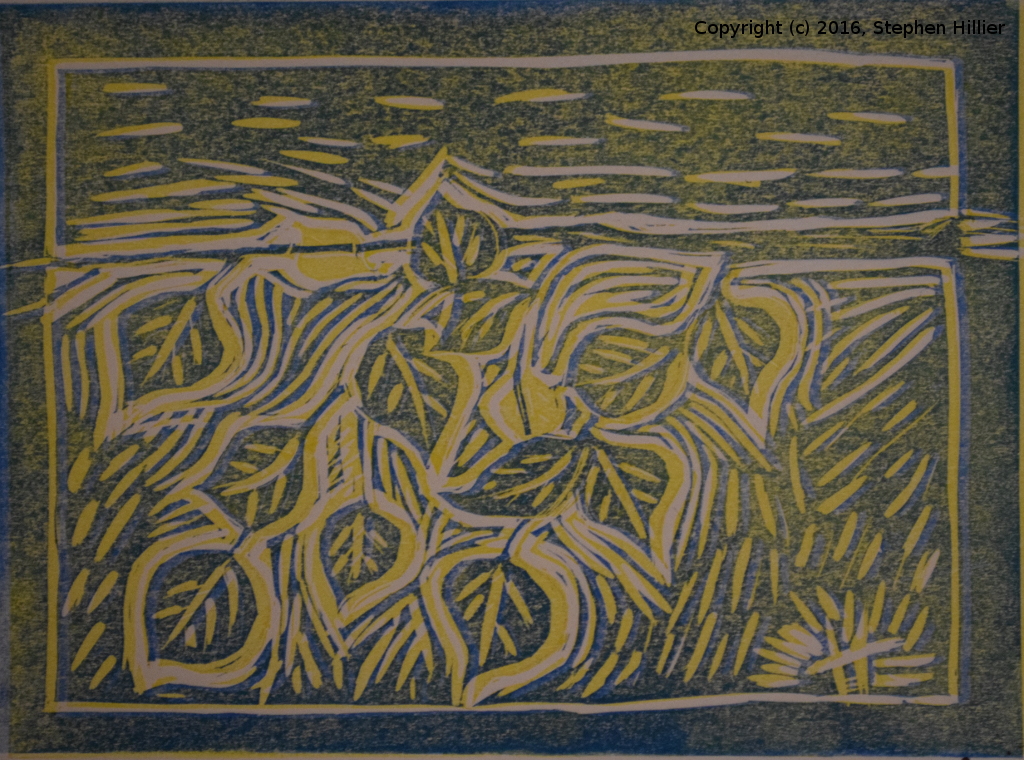
On the right the overprint with cyan. Using this simple overprint method can only give you one green whereas the true process print would give you a range of greens in a controllable manner.
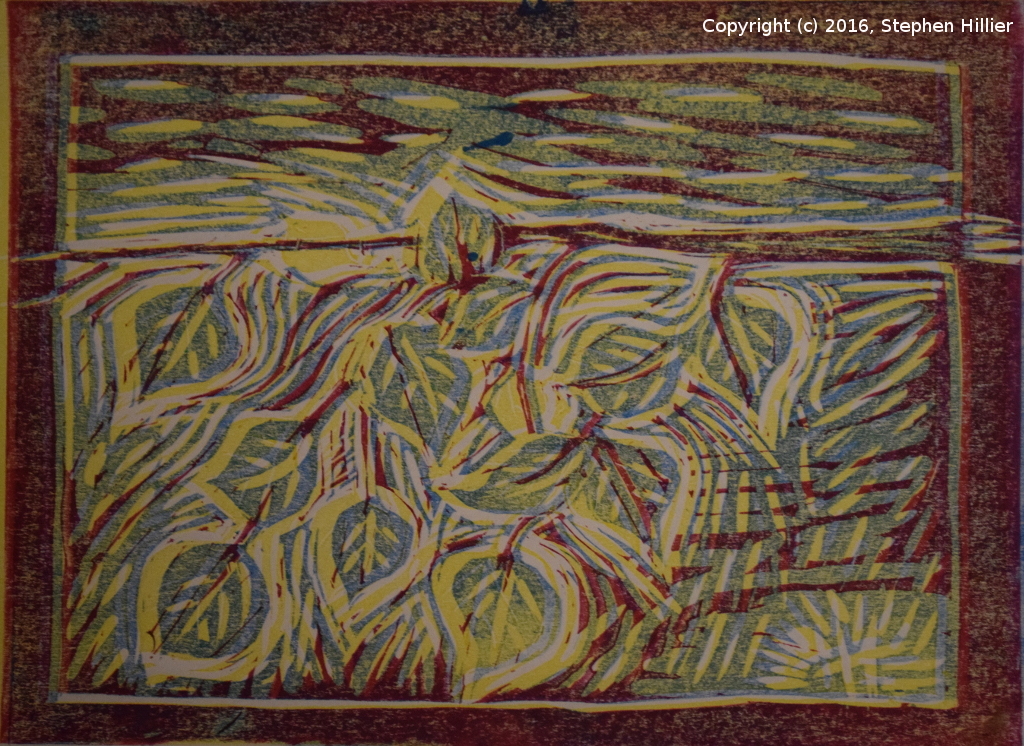
 Just for the hell of it I then overprinted the yellow print with magenta just to see the effect. You have to note that following this method you would never be able to print a green. Similarly over printing with cyan as I have done will never give you pure reds or oranges. True process printing using four separate cuts for each of the four colours would over come this but that is a whole new ball game.
On the right the first of three triple colour prints. I was having problems registering the paper with the lino so this first is a bit of a mess.
 On the left this second of the triple colour prints is better but the magenta has tended to swamp the other colours.
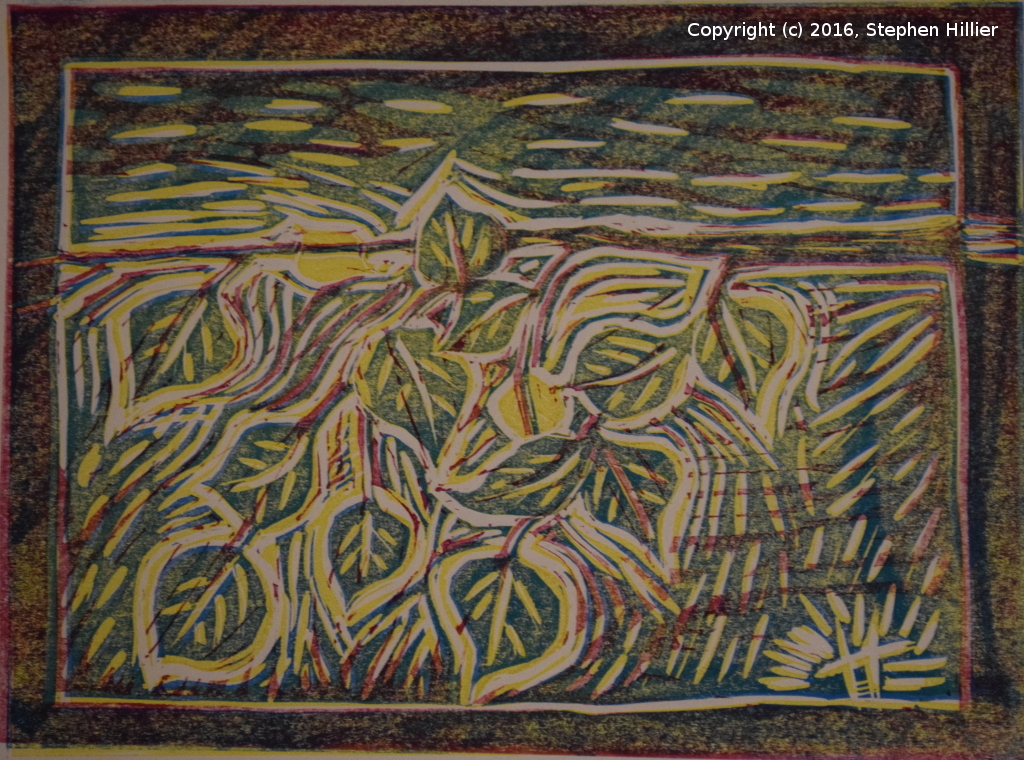
On the right a final print. To avoid the swamping effect of the magenta after inking the lino I took a print onto a piece of blank paper and then immediately printing on to the image you see. At least in this image you can see some browns rather then greens with magenta alongside.

I will have another go with this sort of work but I will set it up so that registration is better controlled and I need to experiment with the inks a bit more.
If this page has inspired anyone to try lino printing you should take a look at Amanda’s webite and get enrolled on a course. View Amanda Hillier’s Website here.