This page describes how I approached the pastel painting of Davies Creek. Each session was nominally 2 hours but often I would achieve no more than about one and a half hours work in that session. I will leave it to you to judge how good a job I made of it.
For the support I used Fisher 400 pastel paper (sand paper). This paper size including margins is 70 x 50 cm, just short of full imperial paper size. The pastels I used are a complete mixture, many of them belonged to my father when he painted. Some are old Rowney, some are Rembrandt, some are Sennelier and some I just don’t know. (I am trying to use these up before going out and spending more money on pastels.) I tended to fix the work after each session but sometime even within a session, depending…
Session 1: 9 May 2018, Session 2: 23 May , Session 3: 30 May, Session 4: 6th June, Session 5: 13 June, Session 6: 26 June, Session 7: 11 July, Session 8: 18 July, Session 9 and final: 25 July.
All the photos on this page were taken using a Samsung mobile phone.

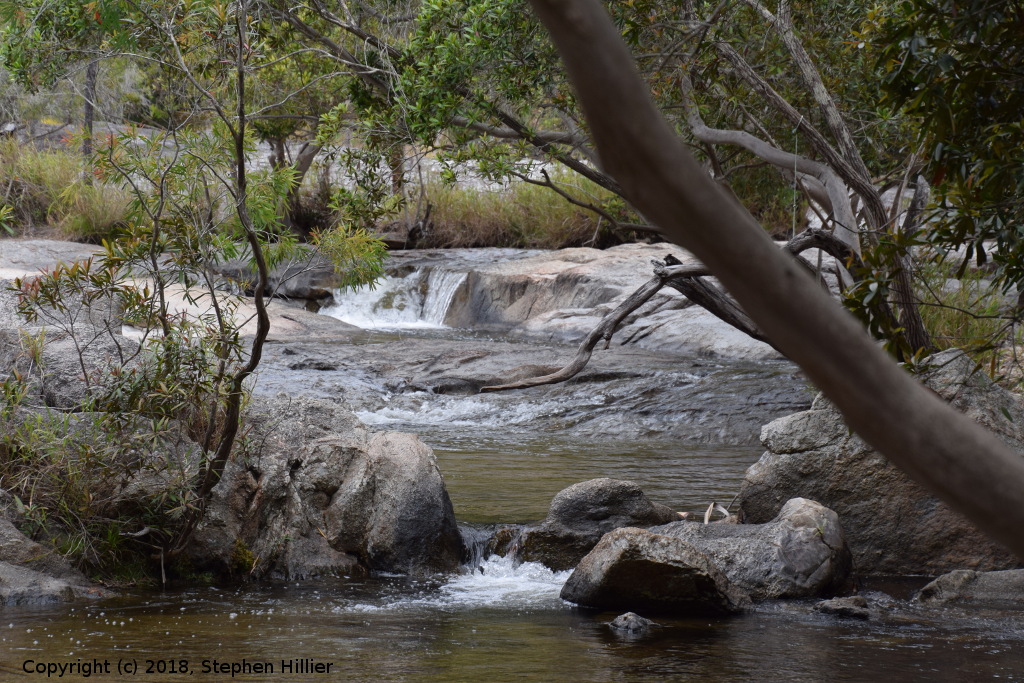
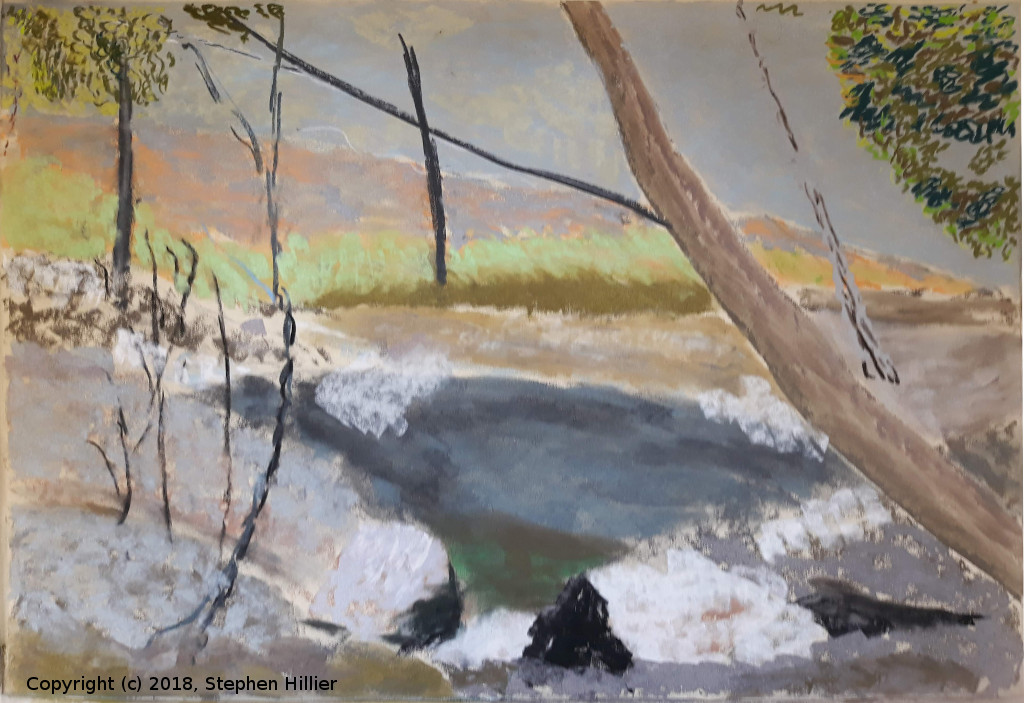
 On the left is the digital photo I used as my reference. The photo was taken with a Nikon D5300 camera and to work from I displayed the photo on a laptop with a 15″ screen. I used the first session to block out the main areas of the picture without any real reference to final colours. This is simply to give some shape to work from (on the right).
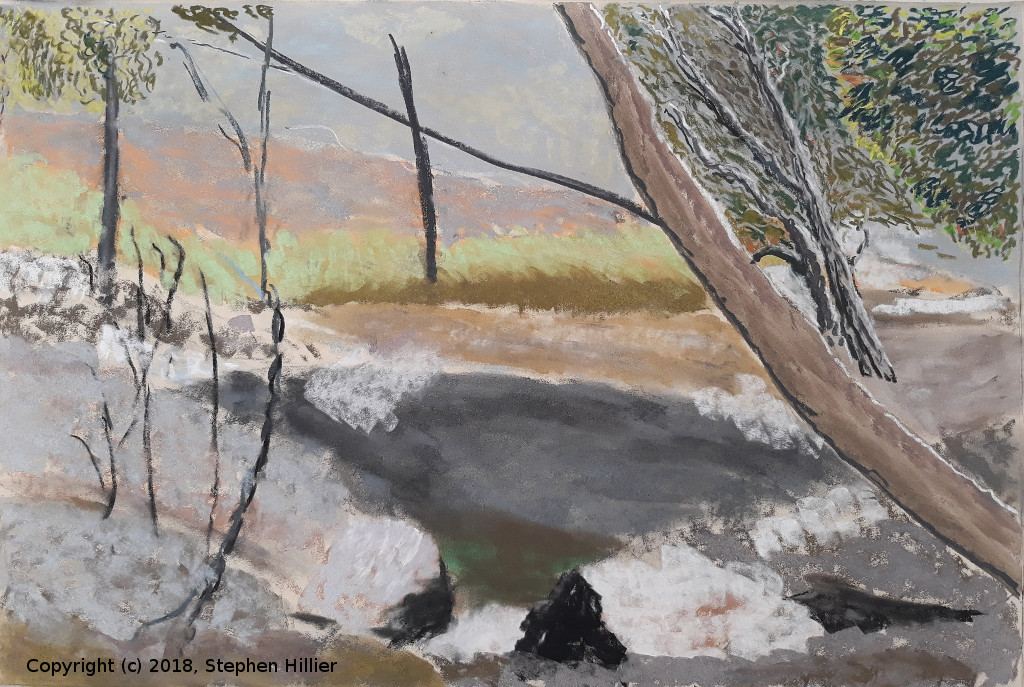
THe second session (left) added more of the block features trying to see where the main tree breaks were going to go. I also started work on the foliage in the top corners. Why anyone who works right handed should start in the top right corner beats me but there, that is what happened. This top corner was not really worked again. Session 3 (right) added more to the foliage in the top right corner. This was one of the less productive sessions.

 Session 4 (left), again not very productive. I have started to fill in the background foliage middle top but have also included some of the brush at the back of the water. Note also some branches of trees on the right edge. Session 5 (right) however achieved quite a lot. The foliage in the middle top is now almost complete. Some more work was done on the main tree trunk leaning across the picture.
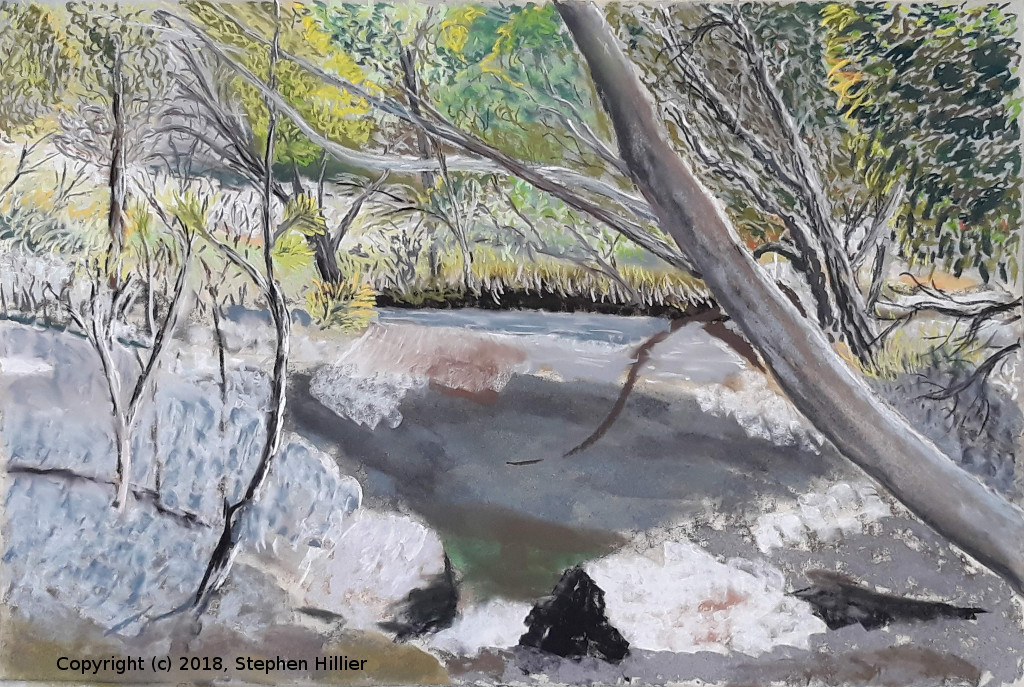
 Session 6 (left) again was quite productive. The trees and foliage at the top is now complete and some of the rocks left foreground have appeared. Session 7 (right) concentrates on the water. Water is flowing in two opposing directions. The higher water is flowing right to left and drops down a fall of 2 – 3 feet and flows quite fast. However there is also water flowing from left into the pool in the middle of the picture. The falls here are not quite as steep.
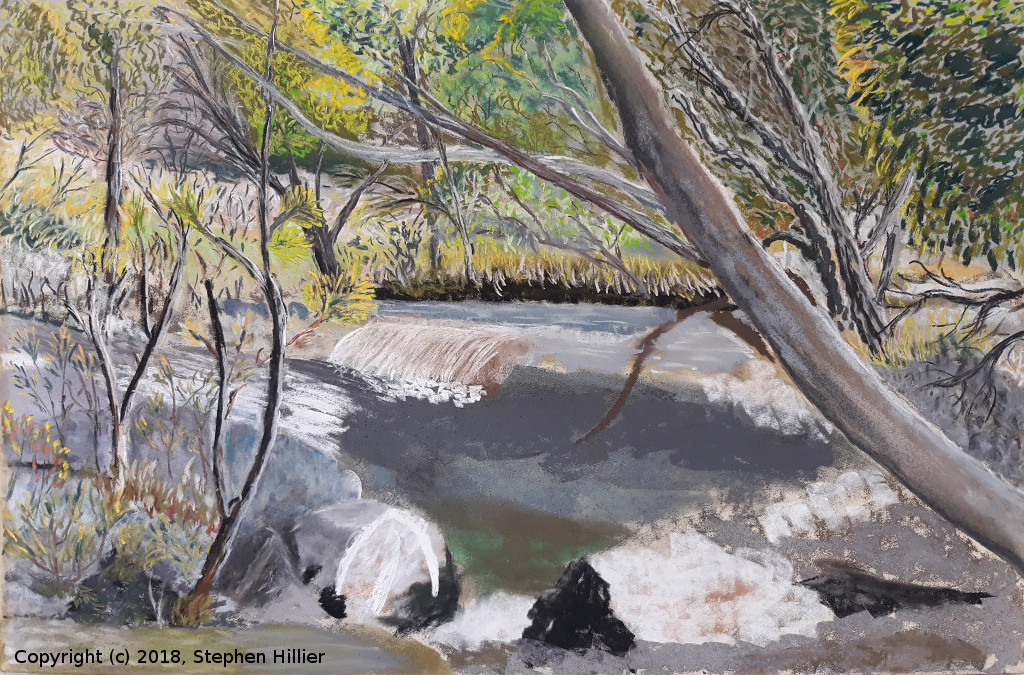
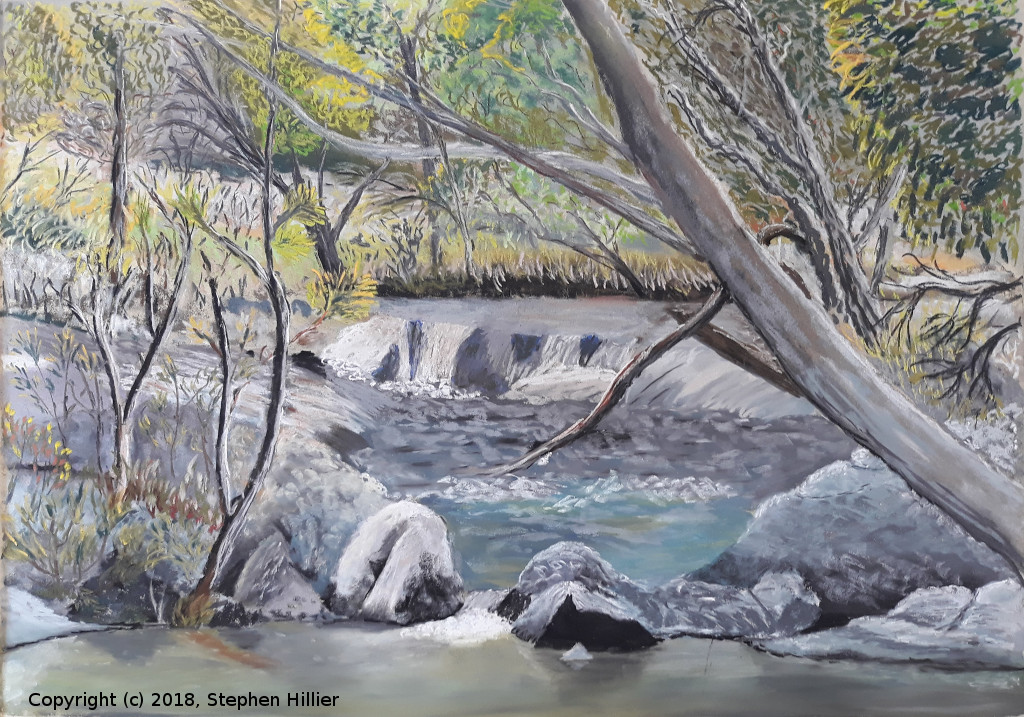
 Session 8 (left) Completes the work of the water features and adds more definition to the rocks in the foreground. It is now getting thrre but is not quite complete. The final session (right) works largely on the rocks in the foreground and rock pool right at the front of the picture. Different lighting conditions when the photos were taken makes this look a bit colder than it is in real life. I stopped at this point. I am sure there are a few adjustments I could make but the potential for messing it up entirely are also very close to the surface.